Tips and Tricks
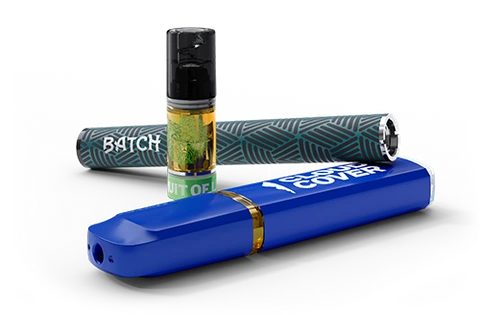
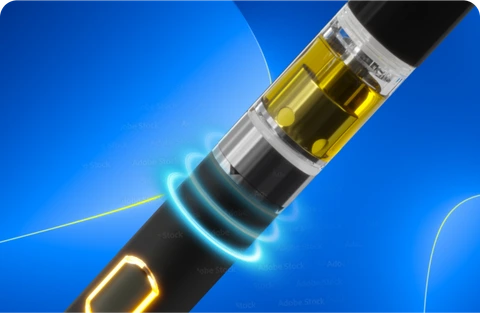
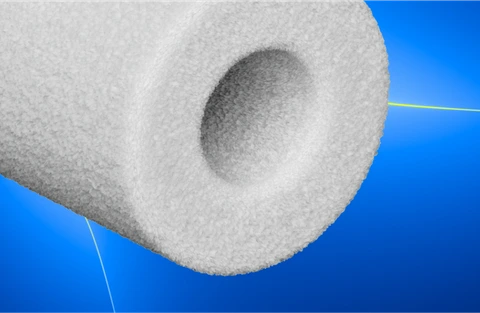
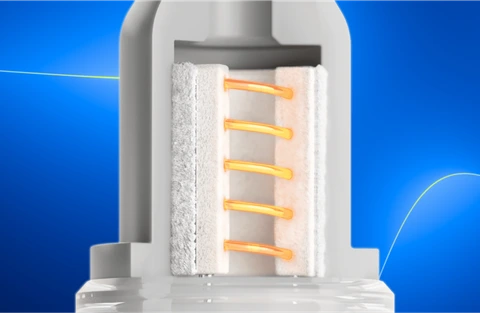
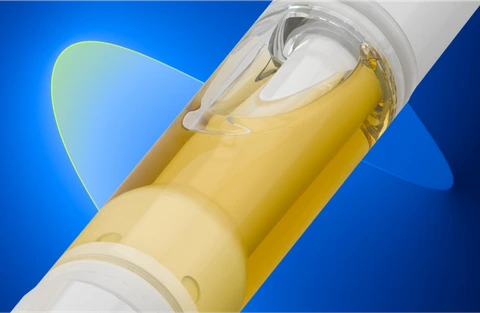
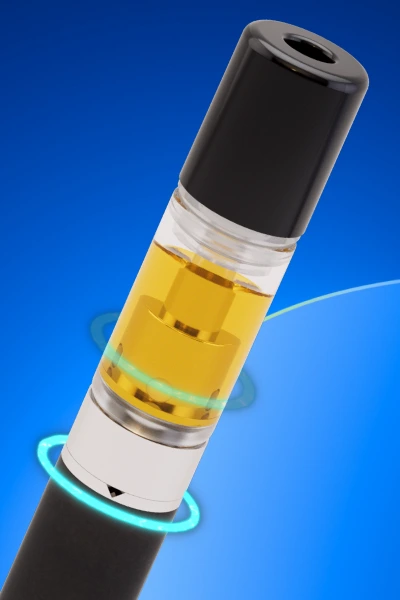
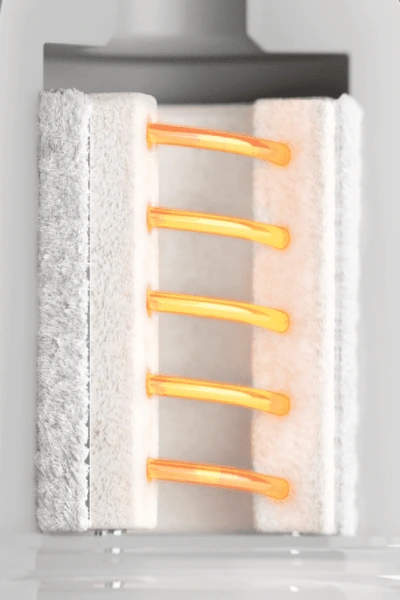
ACTIVE® vape devices are designed for reliability and engineered with No-Burn Technology™ for true-to-strain cannabis flavors.
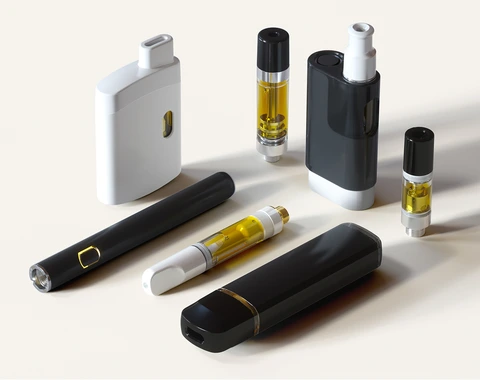
Troubleshooting
Pre-heating: ACTIVE all-in-ones and batteries are engineered with a special pre-heat function. On the bottom of your battery or all-in-one, you’ll see a small airhole. Blow once or twice into the hole to pre-heat thicker extracts before starting your session. Then vape as usual!
This technique doubles up to help clear the airway should you experience any clogging.

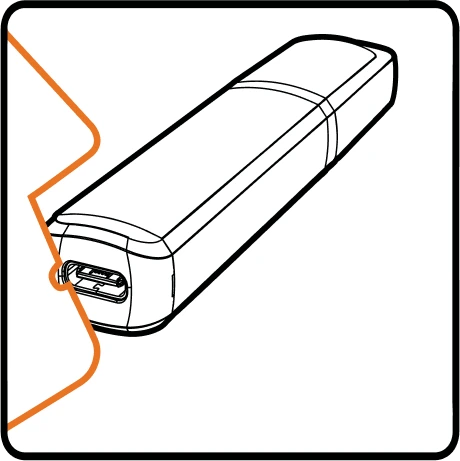
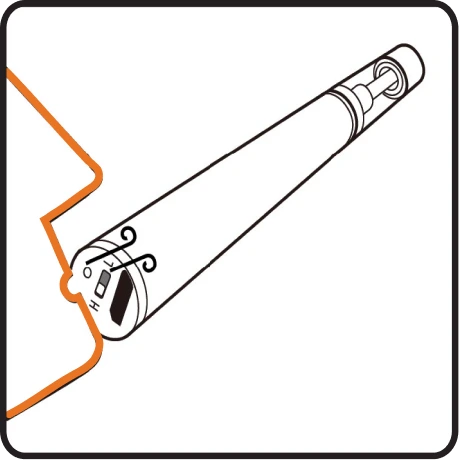
Alternate heating technique: Warm your cartridge in your hand or place it near a heat source. BUT only for a few seconds! Once you see the oil thin out, remove the heat. Overheating cartridges can make things worse. Be gentle with the amount of heat!

Still clogged? Or has your cartridge stopped working?
Cleaning your ACTIVE battery and cartridge
Alternate heating technique: Warm your cartridge in your hand or place it near a heat source. BUT only for a few seconds! Once you see the oil thin out, remove the heat. Overheating cartridges can make things worse. Be gentle with the amount of heat!
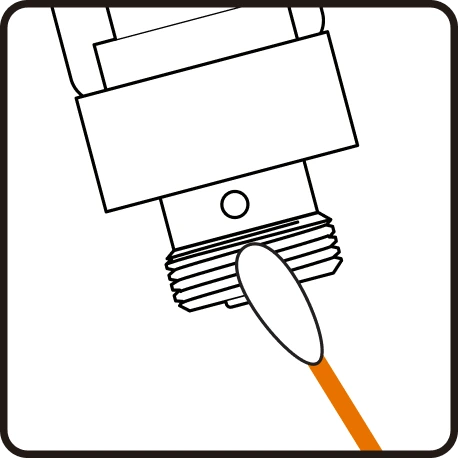
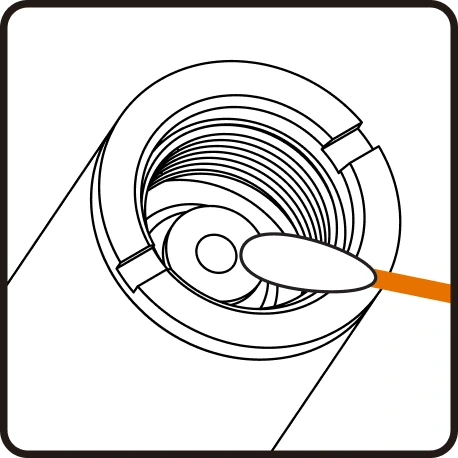
Cartridge Care
Best Practices
How to clear a clog in
an ACTIVE vape
- Do not leave carts in your car or in direct sunlight. It's bad for the oil and the cart. Temperature changes can cause clogs and leaks
- Store your cartridge upright to avoid leaks
- Keep your cartridge at room temperature to avoid clog and leaks
- Don’t drop your cartridge, all-in-one, or battery. It hurts their feelings
- Never over-tighten your cart when screwing into a battery
- Use a protective case or cover to prevent damage or debris from entering the mouthpiece
- Use batteries made for cannabis cartridges. 510 thread or a magnetic adapter style is best
- Be careful with E-Cig style box mods as they could burn out your coil
- Keep your battery charged (like a cell phone) for optimal vaporization
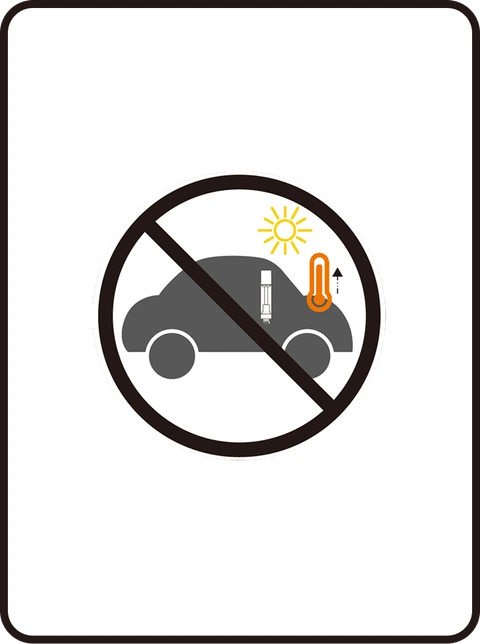
Do not leave cartridge in a hot car
How do I charge my
ACTIVE battery?
Saving our planet
To reduce waste, ACTIVE® is phasing out the charge cables we used to include with our batteries. Most of us have spare micro-USB and USB-C chargers we use for our other electronic devices. To charge your ACTIVE® battery or all-in-one, connect the USB charge port located at the bottom of the battery to a power source, and start charging.
Do not use power chargers that output more than 5 volts. This may damage the battery.
Saving our planet
To reduce waste, ACTIVE® is phasing out the charge cables we used to include with our batteries. Most of us have spare micro-USB and USB-C chargers we use for our other electronic devices. To charge your ACTIVE® battery or all-in-one, connect the USB charge port located at the bottom of the battery to a power source, and start charging.
WarningDo not use power chargers that output more than 5 volts. This may damage the battery.

Elevation:
You should follow all laws concerning transportation of filled cartridges. Drastic elevation changes, such as those that occur while flying, may disrupt the pressure-seal balance of a filled cartridge, causing a leak. If you do fly, keep your cart upside down so the oil does not get pushed through the atomizer.
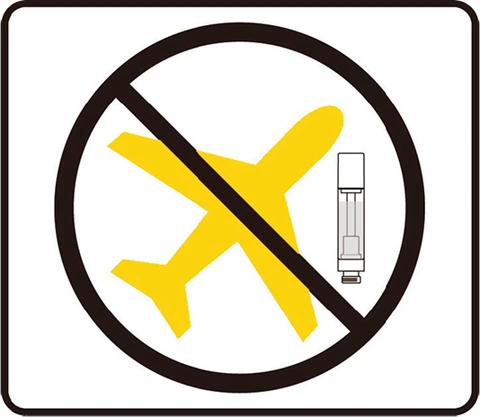
Avoid flying with a filled cartridge
Storage:
Try to store your cartridge at a moderate temperature. Avoid areas below 40°F and above 85°F for optimal performance. Extreme cold can cause clogging and spitting. Excessive heat can result in leaks.
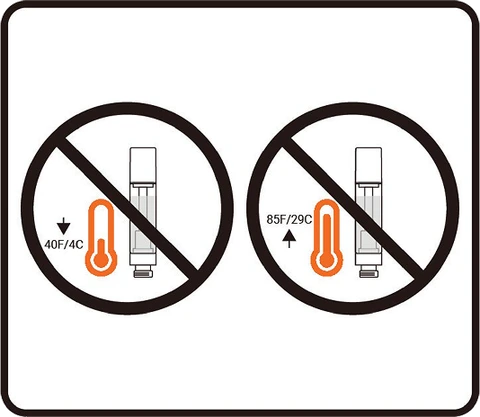
Avoid storing your filled cart in areas below 40F/4C and above 85F/29C
Session Length:
Clearing your entire cart in one sitting, though tempting, may not be the best idea. Green-outs aside, if you chain vape, it may impact the flavor. Let your cartridge cool after a few minutes of seshing before you continue.
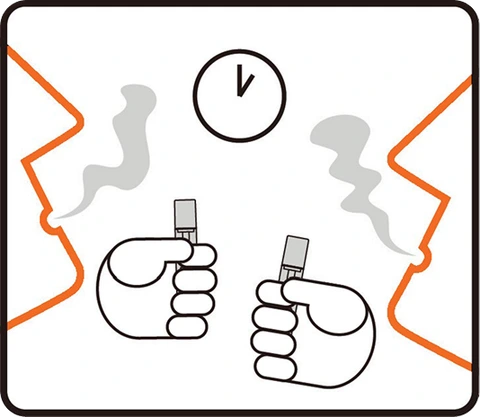
Let cartridge cool every few mins when having a session
Still clogged? Or has your cartridge stopped working?
Green light. Red light. Pulsing light. Vibrations.
They all mean something, depending on which device you have.

Singular
Axil S1 Battery
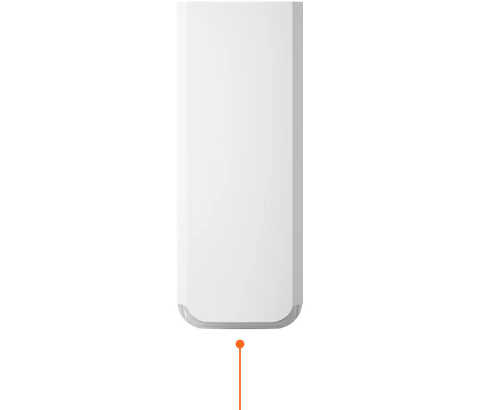
Indicator light on bottom
- Activation: Solid light in voltage color 🔵, 🟡, or 🔴
- Charging: Breathing light 🟡
- Fully Charged: Light off ⚫
- Preheat: Breathing light 5 seconds 🟡
- 10-second draw indicator: Light off ⚫
- Short Circuit: Light flashes 3x 🟡
- Low Battery: Light flashes 10 times 🟡
- Flavor adjustments:
Low - 2.6v 🔵
Medium - 3.0v 🟡
High - 3.4v 🔴 - Charging Port: USB-C
Offset S1 Battery
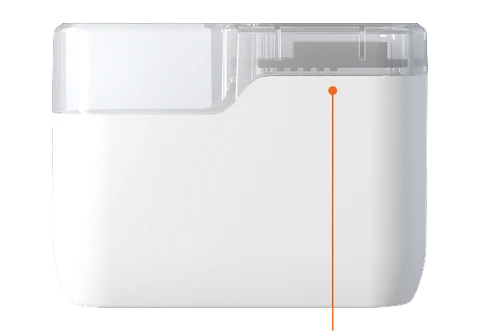
Digital screen indicates status

- Activation: Screen on with voltage displayed
- Charging: Battery bars flash
- Fully charged: Battery bars full
- Unplug: Screen flashes 3 times
- Preheat: Screen displays 1.5v
- 10-second draw indicator: Screen flashes 2 times
- Short circuit: Screen on for 2 seconds
- No connection: Screen flashes 5 times
- Low battery: Screen flashes 10 times
- Flavor adjustments:
Low - 2.6v
Medium - 3.0v
High - 3.4v - Charging port: USB-C
Batteries
Seed
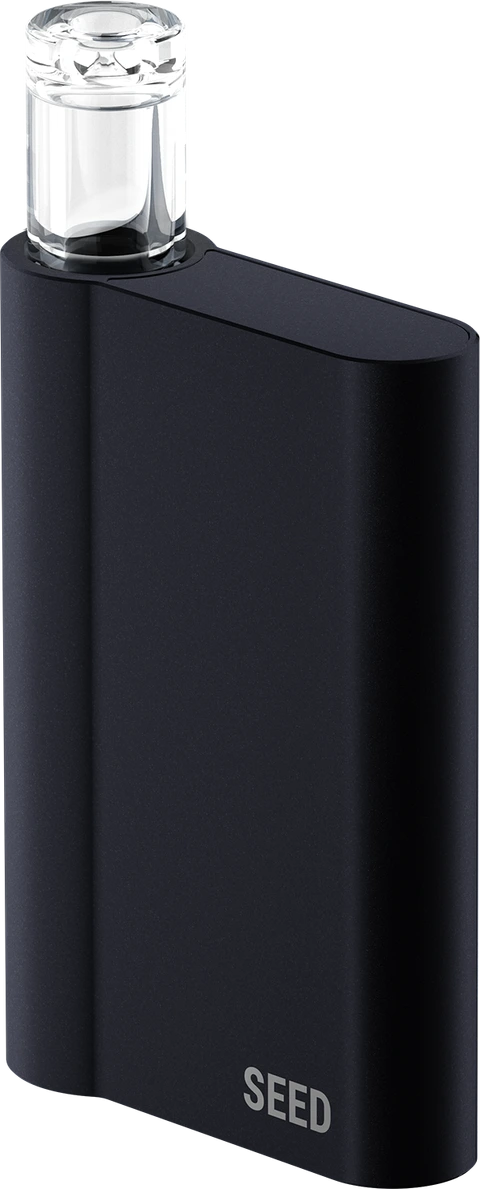
Indicator light on bottom
Active use indication: Vibration 〰️
Charging Indicator: Blinking red light 🔴
Fully Charged: Solid green light 🟢
10-second draw indicator: Vibration stops
Short Circuit: 3 long vibrations 〰️ x3
Connection Error: 2 quick vibrations 〰️ x2
Over use Protection: Device deactivates after a 10 second draw activation.
Device resets after draw is finishedLow battery: 5 short vibration 〰️ x5
Charging Port: Micro-USB
Alpha

Indicator light on bottom
Active use indication: Vibration 〰️
Charging Indicator: Blinking red light 🔴
Fully Charged: Solid green light 🟢
10-second draw indicator: Vibration stops
Short Circuit: 3 long vibrations 〰️ x3
Connection Error: 2 quick vibrations 〰️ x2
Low battery: 5 short vibration 〰️ x5
Charging Port: Micro-USB
Clone

Indicator light on bottom
Active use indication: Solid light 🟡
Charging: Solid light 🟡
Fully Charged: Flashing light 20 times 🟡 x20
10-second draw indicator: Flashing light 2 times 🟡 x2
Short circuit: Solid light 2 Seconds 🟡
Low Battery: Flashing light 10 times 🟡 x10
Unplug: Flashing light 3 times 🟡 x3
Charging Port: Micro-USB
Stik

Indicator light on bottom
Active use indication: Solid green light 🟢
Charging Indicator: Flashing red light 🔴
Fully Charged: Solid green light 🟢
Short Circuit: Red light flashes 🔴 x10
Connection Error: Solid red light for 5 seconds 🔴
Charging Port: Micro-USB
Stik Button

Indicator light on bottom
Active use indication: Solid green light 🟢
Charging Indicator: Flashing green light 🟢
Fully Charged: Solid green light 🟢
Short Circuit: Flashing red light for 10 times 🔴 x10
Connection Error: Solid red light for 5 seconds 🔴
Charging Port: Micro-USB
Root / Root XL

Indicator light
Power on: Click the button 5 times 🟡 x5
Active use indication: Light on when button is pressed 🟡
Temperature setting: Click the button 3 times
Low: blue 🔵
Medium: yellow 🟡
High: red 🔴
Charging Indicator: Solid red light 🔴
Fully charged: Solid green light 🟢
10-second draw indicator: Light flashes 5 times 🟡 x5
Short Circuit: Light flashes 3 times 🟡 x3
Connection Error: White light flashes 3 times ⚪ x3
Low battery: White light flashes 10 times ⚪ x10
Charging Port: Micro-USB
Sprout

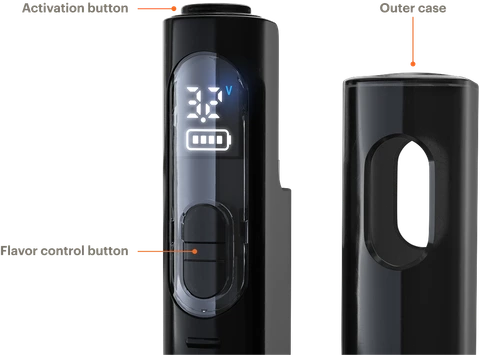
Activation buttons functions
- Power on: Click the activation button 5x
- Toggle between settings: Click the activation button 3x
- Preheat function: Click the activation button 2x
Flavor control buttons functions
3 clicks of the activation button on top of device toggles between settings

Adjust voltage between 2.5V and 4.0V

Adjust ACTIVE Pulse between 2.5P and 4.0P

Adjust wattage between 5W and 10W
Cold climate? Thick extracts? There’s pre-heat for that.
Two clicks of the activation button starts a gentle five second pre-heat function for clog-free vaping.
Suggested Sprout settings for various extracts
Each setting corresponds to the specific nature of the extract, with voltage, pulse, and wattage adjusted to ensure optimal vaporization without compromising the extract’s flavor, consistency, or overall experience. These settings are meant as guidelines and are not the only settings available on the Sprout. You should experiment to find the optimal settings with your particular extract and experience.
Premium extracts:
Liquid live resin and rosin
These extracts are delicate, with high terpene content, and require lower settings to preserve flavor and quality without overheating.
Voltage

ACTIVE Pulse™

Wattage

Low/med viscosity extracts
Distillates and liquid live resin
These extracts are less viscous, so slightly higher settings are needed to vaporize them effectively.
Voltage

ACTIVE Pulse™

Wattage

Thick/high viscosity extracts
Liquid diamonds and heavy distillates
These extracts require higher settings to vaporize properly, as they have a higher density and viscosity.
Voltage

ACTIVE Pulse™

Wattage

Pro tip
Start low to avoid overheating your extract, and ramp up until you find your sweet spot.
All-In-Ones
Seedling

Indicator light on bottom
Active use indication: Solid light 🟡
Charging: Solid light 🟡
Fully Charged: Light off ⚫
10-second draw indicator: Flashing light 2 times 🟡 x2
Short Circuit: Solid light 2 Seconds 🟡
Low Battery: Flashing light 10 times 🟡 x10
Unplug: Flashing light 3 times 🟡 x3
Charging Port: USB-C
Axil

Indicator light on bottom
Low Battery: Flashing light 10 times 🟡 x10
Charging: Solid light 🟡
Fully Charged: Light off ⚫
Charging port: USB-C
Leaf
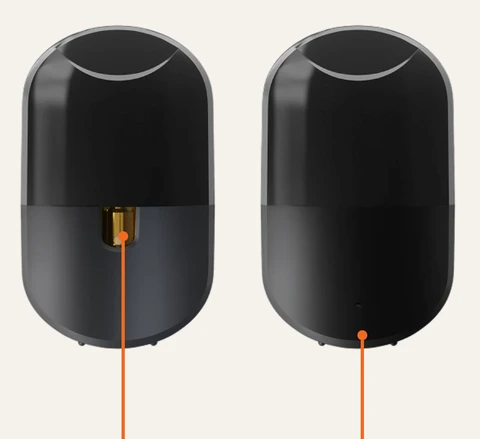
Indicator light is either oil window or LED depending on specific model
Active use indication: Solid light 🟡
Charging: Solid light 🟡
Fully Charged: Light off ⚫
10 Seconds Draw Indicator: Flashing Light 2 Times 🟡 x2
Short Circuit: Solid Light 2 Seconds 🟡 x2s
Low Battery: Flashing Light 10 Times 🟡 x10
Unplug: Flashing Light 3 Time 🟡 x3
Charging Port: Micro-USB
Stem

Indicator light on bottom
Active use indication: Solid light 🟡
Charging: Solid light 🟡
Fully Charged: Flashing light 20 times 🟡 x20
10-second draw indicator: Flashing light 2 times 🟡 x2
Short circuit: Solid light 2 Seconds 🟡
Connection error: Flashing light 10 times 🟡 x10
Low Battery: Flashing light 10 times 🟡 x10
Unplug: Flashing light 3 time 🟡 x3
Charging Port: Micro-USB
Glass

Indicator light on bottom
Active use indication: Solid light 🟡
Charging: Solid light 🟡
Fully Charged: Flashing light 20 times 🟡 x20
10-second draw indicator: Flashing light 2 times 🟡 x2
Short circuit: Solid light 2 Seconds 🟡
Low Battery: Flashing light 10 times 🟡 x10
Unplug: Flashing light 3 times 🟡 x3
Charging Port: Micro-USB
Node

Indicator light on bottom
Active use indication: Solid light 🟡
Battery Indication:
Full: green 🟢
Medium: yellow 🟡
Low: red 🔴
Charging: Red light glows on & off 🔴
Fully Charged: Green flashing light 8 times then off 🟢 x8
10-second draw indicator: Light off ⚫
Short circuit: Blue, green and red flash.
Requires charging before use 🔵 🟢 🔴Connection error: No indicator light
Low Battery: Flashing light 3 times 🔴 x3
Charging Port: Micro-USB
Ceramic

Indicator light on bottom
Active use indication: Solid light 🟡
Charging: Solid light 🟡
Fully Charged: Flashing light 20 times 🟡 x20
10-second draw indicator: Flashing light 2 times 🟡 x2
Short circuit: Solid light 2 Seconds 🟡
Low Battery: Flashing light 10 times 🟡 x10
Unplug: Flashing light 3 time 🟡 x3
Charging Port: Micro-USB
Mini Air

Indicator light on bottom
Low Battery: Flashing light 10 times 🟡 x10
Charging: Solid light 🟡
Fully Charged: Light off ⚫
Charging port: USB-C
Mini Pro

Indicator light on bottom
Low Battery: Flashing light 10 times 🟡 x10
Charging: Solid light 🟡
Fully Charged: Light off ⚫
Charging port: USB-C
Medley

Indicator light on bottom
Active use indication: Light turns on and off 🟡
Charging: Solid light 🟡
Fully Charged: Light off ⚫
10-second draw indicator: Flashing light 2 times 🟡 x2
Short Circuit: Solid light 2 Seconds 🟡
Low Battery: Flashing light 10 times 🟡 x10
Unplug: Flashing light 3 times 🟡 x3
Charging Port: USB-C


